Midnight Tragedy In Wellington Harbour
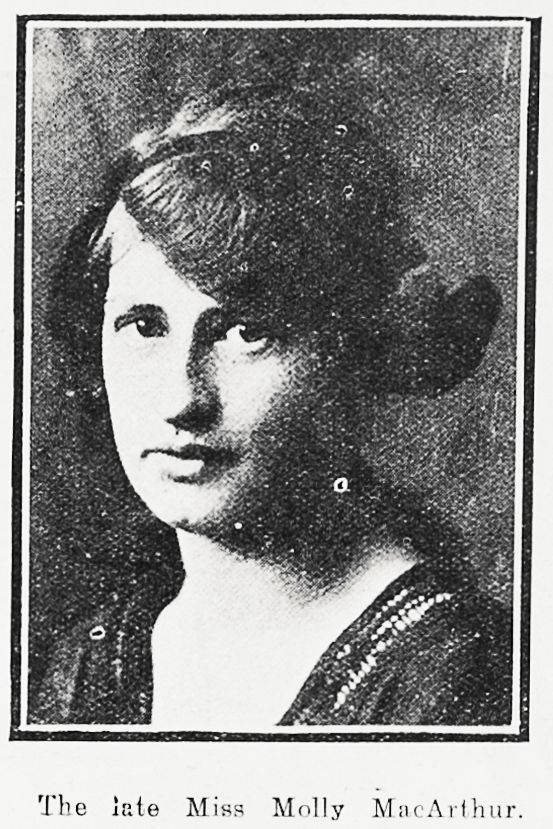
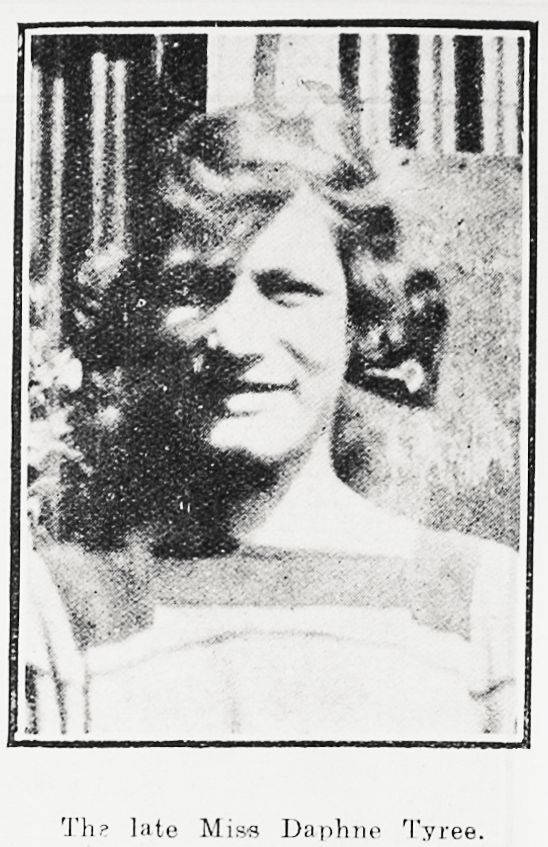
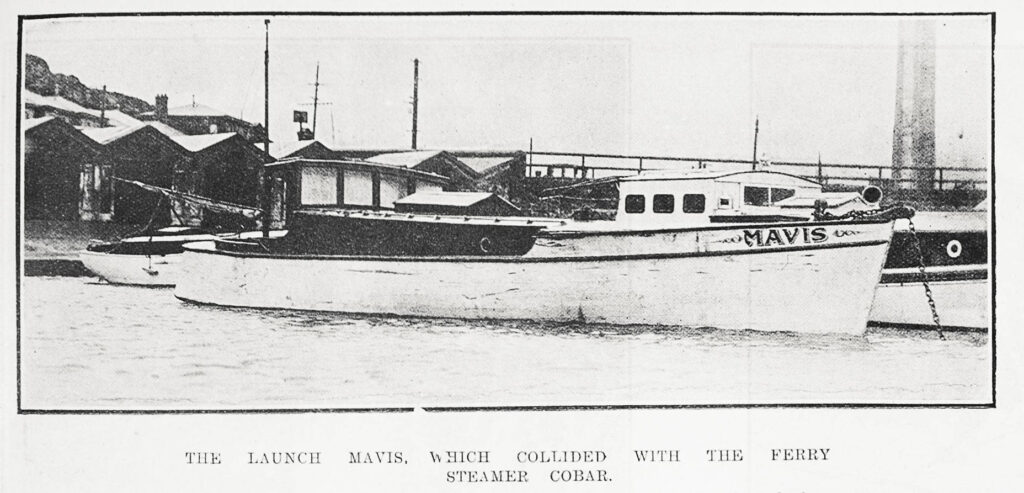
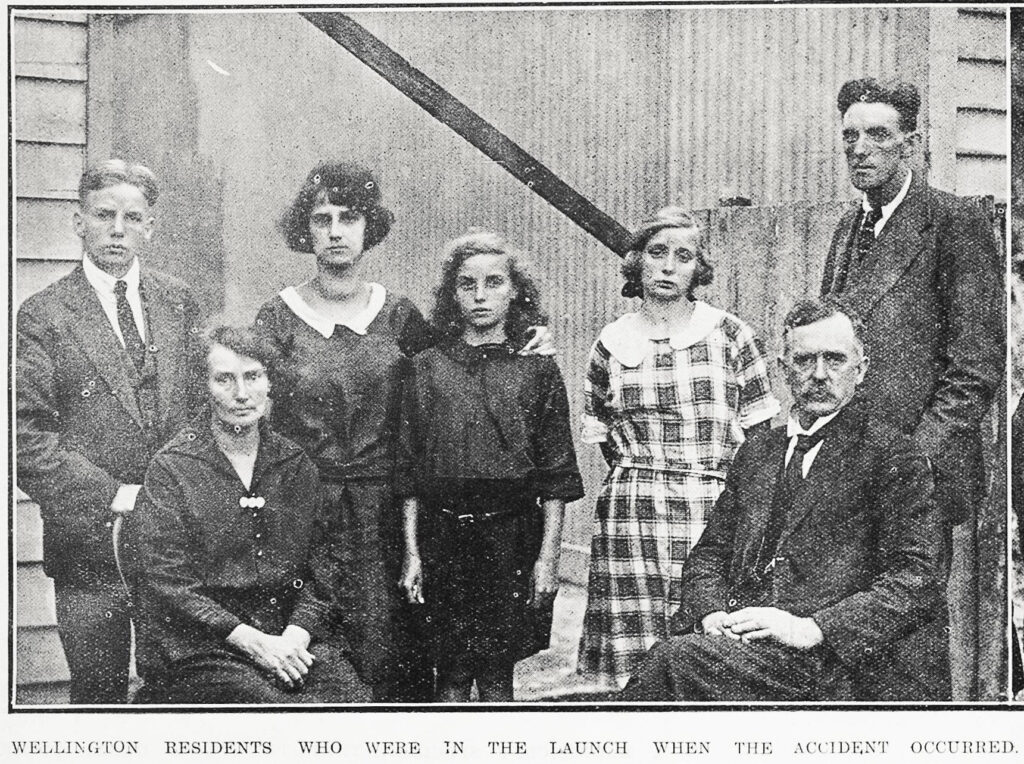
The harbour collision of the steamer ‘Cobar’ and the launch ‘Mavis’ on 8th February 1924 resulted in the deaths of Mary Burden MacArthur and Daphne Tyree. Mary (20) and Daphne (15) lived in Alfred Street and were tailoresses in the employ of Haydon Lubransky in Newtown.
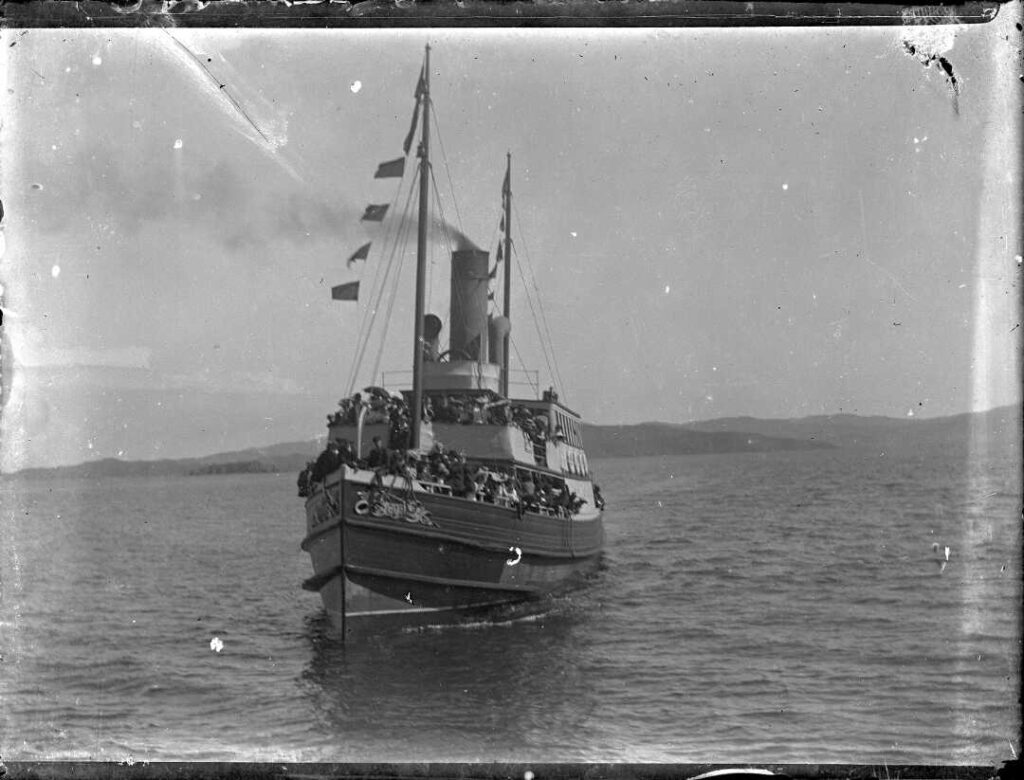
The night was dark and calm when Frederick Williams had invited a party of 14 aboard his launch at 9:30pm. The witnesses vouched the party was all sober and there was no alcohol on board. Frederick had asked them all to keep watch while he steered. There was a hurricane lamp on deck and electric light in the cabin. They were travelling at about 5 knots on their return from a visit to the Hinemoa which was lying off ‘Kaiwarra’ when the collision happened.
As they approached the boat harbour, Frederick heard a scream and looked to see the Cobar about 100 yards away and coming directly for the Mavis. He altered course but they touched the starboard quarter of the launch and the boat heeled over.
Three girls and one man fell in the water. Two were rescued from the water and Mary’s body was shortly recovered and taken aboard the Cobar. Her head was badly injured, apparently by the screw of the steamer. The Japanese war ship Yakumo came to the scene and flooded the area with searchlights. Other boats rushed to the search also. The survivors were taken aboard the Yakumo while the search continued for Daphne to no avail.
An inquest determined that Frederick ‘committed an error of judgement in failing to give the bigger vessel clearance’.
On 25th February, part of a body was found floating near Te Aro baths, assumed to be that of Daphne’s.
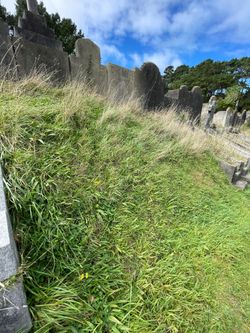
Mary was buried in this unmarked plot at Karori Cemetery. Her father James died in 1951 and was cremated. Her mother died in 1952 and is in the same plot as Mary.
Plot Ch Eng 2/G/399